How to change your Front Wheel Bearings
Information kindly supplied by Pete Osborne of Very Sideways.com
Note BEFORE YOU START!!
Keep the replacement bearing components as a "set" because they are selectively picked by the bearing manufacturer to give the correct running clearance when the 41mm nut is fully torqued. That is to say, if you buy 2 kits to do both front bearings, you must not mix any parts or you will lose the correct settings. Also, you have to do both the inner and outer bearings (cups and cones) on any given hub, not just the one that looks worn (and, say, keep the other for another time) and this additionally precludes going to a bearing factor and obtaining a nominally similar bearing.
To do this you will need standard tools plus a new Sierra Cosworth (rwd) front wheel bearing (these are sided apparently so make sure you have the n/s or o/s as appropriate) and a 41mm socket.
1. Slacken off road wheel nuts (19mm)
2. Raise front of car and secure with axle stands
3. Remove wheel nuts and road wheel
4. Undo 19mm retaining bolts on back of caliper mounting bracket and place caliper to one side, out of the way (still connected by the brake pipe of course!)
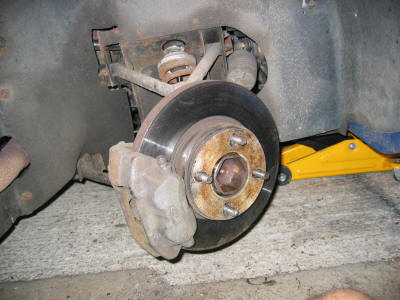
5. Remove spacer and remove brake disk and place both to one side.
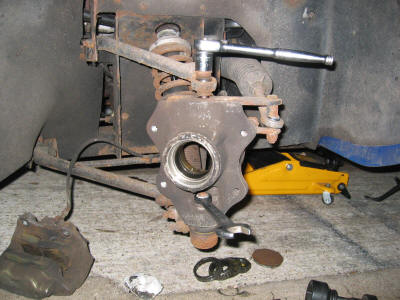
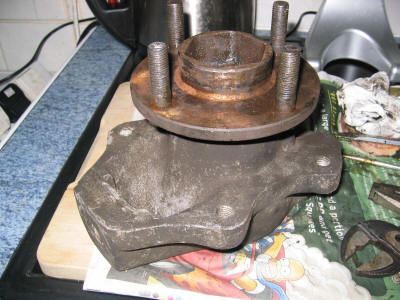
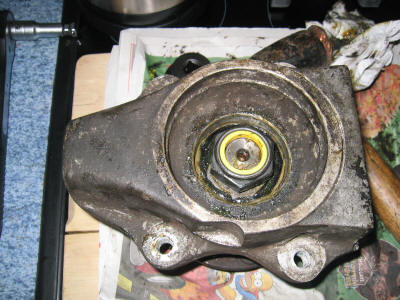
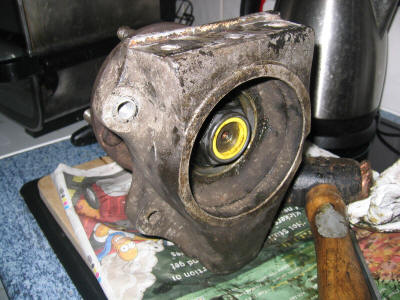
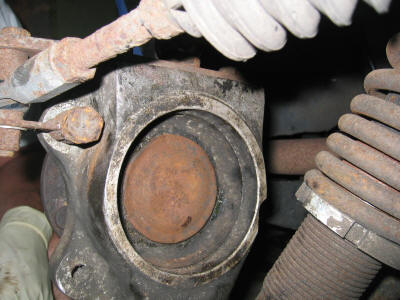
6. Turn steering to full lock to whichever side suits you best to get to the back of the hub, and prize off the metal cover (see photo)
7. Take your 41mm socket and a breaker bar and place on the nut at the back of the hub, and use some sort of jimmy bar to hold the studs on the front of the hub to stop it rotating.
Remember that the nut is a reverse thread on the o/s/f and a standard thread on the n/s/f so make sure you undo it, not tighten it!!
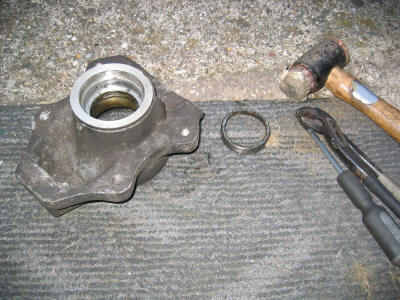
8. Once the nut is off you should be able to pry out the inner bearing race from the inside, and you will probably need to hit the stub axle with a hammer from the inside to pop it out of the hub carrier. (complete with outer bearing race).
9. Remove the bearing seats from the inside of the hub carrier if you can (the inner one came off for me but not the outer) and put the new ones in the freezer. This is so the new ones are easy to fit later.
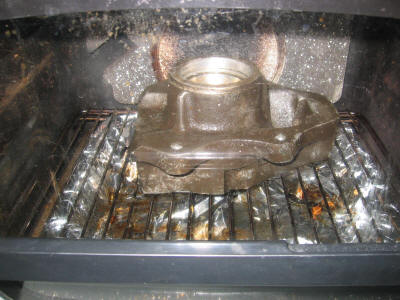
10. Take the cleaned stub axle assembly and put it in the oven to get it nice and hot, this will make it easier to get the bearing off the stub axle. Also place one of the new bearings in the oven so that you can put it on the stub axle nice and easy afterwards.
Photos so far:
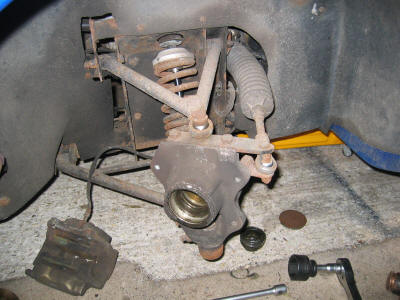
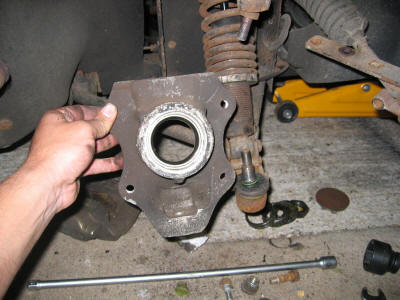
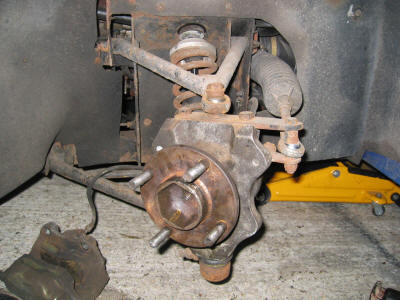
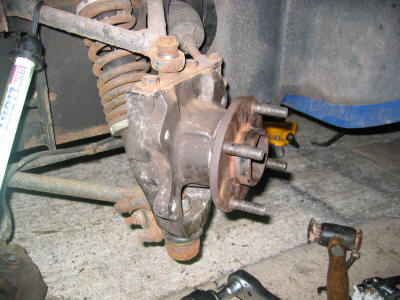
This is the hub carrier after you've taken everything off
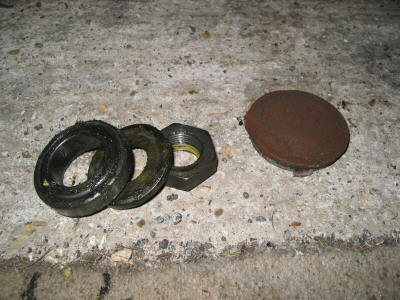
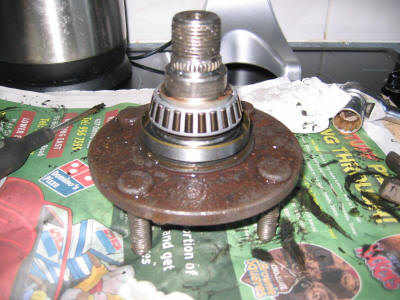
That's the metal cover, the inside nut (41mm) and the inner bearing race
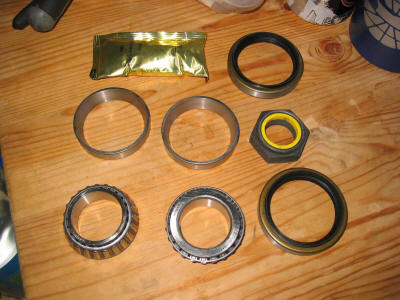
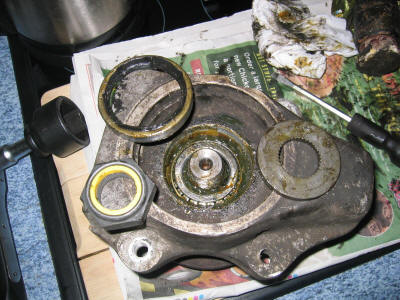
New kit - middle left and middle middle pieces go in the freezer (the bearing seats) and the bottom left bearing race goes in the oven with the axle.
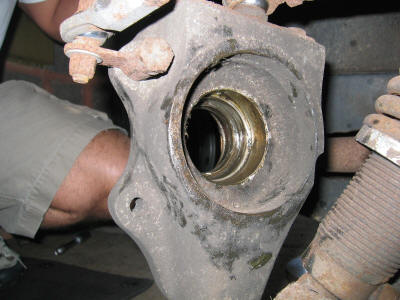
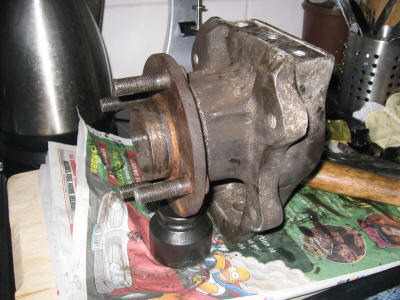
Again from the back
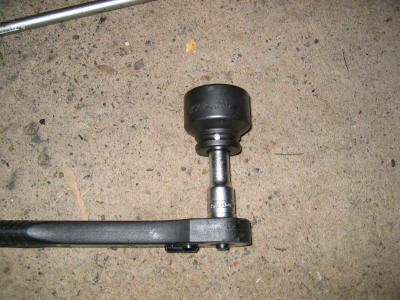
41mm socket (in this case from Camberley Auto Factors)
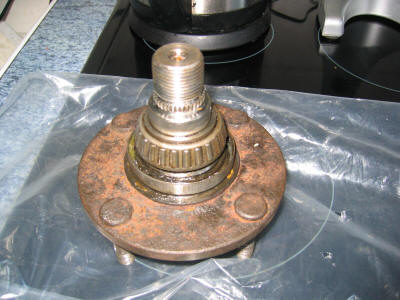
This is the stub axle assembly. Into the oven it goes!
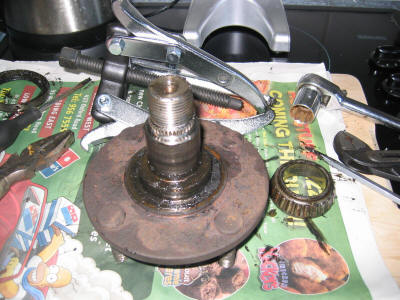
11. After 20 minutes in a nice hot oven, carefully remove the stub axle and attach a 3 leg puller to it. Slowly pull the bearing off in this way.
12. Once you have removed the old bearing, give the area a good clean so that there is as little contamination as possible for the new bearing.
13. Now cool the stub axle assembly down in a sink of cold water for a couple of minutes.
14. Put the new dust seal on the cold stub axle first, and then get the nice hot bearing race out of the oven and put it on the axle - it will probably slide straight down into place (if the axle is cold enough and the bearing is hot enough), if not you may need to give it the gentlest of taps to get it all the way down and seated. Patience is key here - the whole job is very easy if the bearing is HOT enough and the stub axle is COLD enough.
15. Now that you have the assembled stub, we need to switch to the hub carrier. This is easiest worked on once it's been separated from the car, and you only have to undo 4 bolts and a nut to do that, so remove the hub carrier from the car.
16. Now put the hub carrier in the oven and make a cup of tea - it'll need to be in there for a good 20 minutes or more (my oven's fan assisted!)
17. When the hub carrier is good and hot, put it on a wooden surface or carpet (careful, it's hot remember!) and pry out the old bearing seats (i use a screwdriver and hammer and some gentle persuasion)
18. Now clean up the area ready for the new faces and put the hub carrier back in the oven to get it nice and hot again.
19. When it comes out of the oven, grab the first bearing seat from the freezer and pop it into the hub carrier - again it should more or less drop in, if it needs some *gentle* persuasion then do that with a hammer and flat screwdriver, if it isn't going on easily then either your hub carrier isn't hot enough or your bearing seat isn't cold enough.
20. Turn the hub carrier over and grab the other bearing seat from the freezer and do the same again.
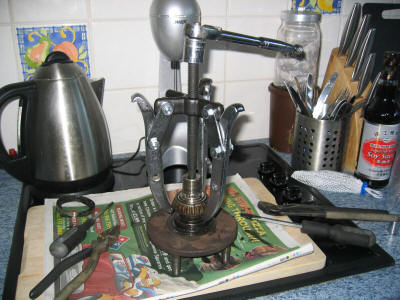
3 legs to pull off the old bearing
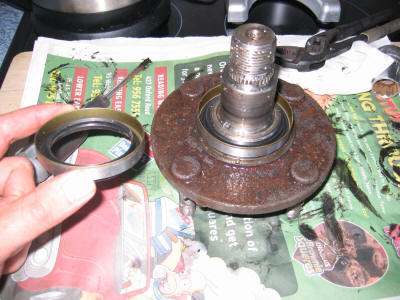
...and then put on the new dust seal
Take the hub carrier off the car
then stick it in the oven
like this
Done! Now clean it...
and then drop the hot bearing on to the cold stub axle
like this
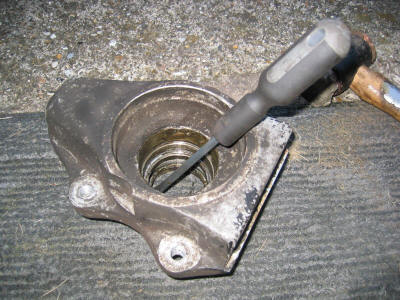
and when it's nice and hot, pry out the old bearing seats
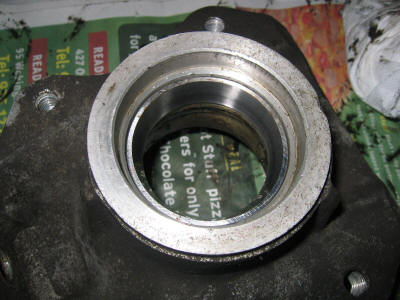
then clean, reheat, and drop in the cold new bearing seats
21. Now reheat the hub carrier and start re-assembling - grease the new bearing race that's already in the stub axle first, and offer it up to the hub carrier. The reason for reheating the hub carrier (warm, not too hot this time) is so that the dust seals can slide into place easily, otherwise they're a pain!
22. You may also need to heat the second bearing race so as to be able to slide it on to the stub after reuniting the stub axle and hub carrier in the previous step.
23. You can then add the splined washer, final dust seal and 41mm hub nut (we will need to tighten this though - don't forget!)
24. Now take all this stuff back to the car and remount the hub carrier to the wishbones and steering rack
25. Then, using a similar method to that employed to UNDO the 41mm nut, do it back up again (remember, o/s/f has a reverse thread!) - the 41mm nut is meant to be torqued to 275-315Nm and left there, as this setting is already worked out with the bearing clearance tolerances. Then replaced metal plate at the back.
26. Replace brake disc, reattach caliper, replace spacer, refit road wheel - don't forget to tighten the road wheel nuts once the car is on the ground again.
Stub axle, meet hub carrier :-)
Bearing in - now splined wahser, then dust seal, then new nut
And here's one i prepared earlier :-)
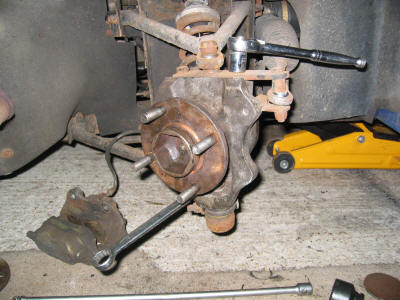
Going back onto the wishbones and rack
Hmmm, awkward to put the caliper on like that
add brake disc, caliper, and spacer
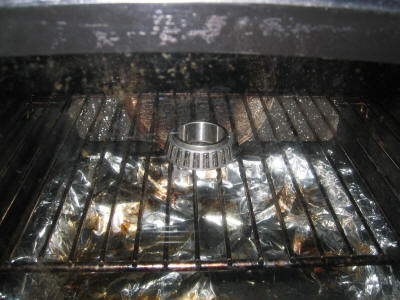
Last bearing going in the oven...
Ta da!
and from the inside
Metal cover in place after final tightening
so spin the steering wheel to this
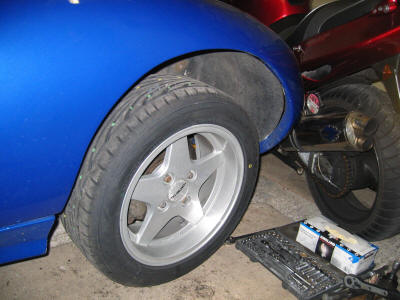
and refit road wheel! The end :-)